How to Hang Outdoor Christmas Lights Safely

It's a time-honored tradition every December—climbing up on a ladder and wrestling with a string of outdoor Christmas lights. But, while the lights look absolutely stunning when installed and lit, hanging outdoor Christmas lights may feel a bit daunting.
Well, don’t fear! We’ve got you (and your holiday decorations covered). Here’s how to hang Christmas lights safely and without hassle. Follow these step-by-step instructions for hanging Christmas lights outdoors that will be the envy of your entire neighborhood.
Materials and Tools Needed to Hang Christmas Lights
Hanging Christmas lights outdoors isn't a tough task, but you can face a few conundrums. Like any DIY home project, the right tools will make the job easier for all.
You may also have a few questions, such as, do I need a Christmas light extension cord? Do I know how to get power outside without an outlet? How do I affix Christmas lights so they won't fall in bad weather (or damage my awnings)?
Before you climb up the ladder, assemble the following tools to make hanging Christmas lights hassle-free:
The Best Way to Hang Christmas Lights
Before you haul out the ladder and start climbing, take a step back and look at your home from the street. It may be helpful to snap a few photos or take a few minutes to look at the larger picture. The lights should highlight the roofline and windows. Ideally, Christmas lights should showcase your home's best features and create a festive, cohesive look.
Once you’ve formed a picture in your mind and a plan for hanging outdoor Christmas lights, it’s time to get started.
Step 1: Measure Twice, Hang Christmas Lights Once

Measure the areas where you plan to hang your holiday lights. If you want them to run along the roofline or around windows, you'll need to measure the parameter and length of each area carefully. As you're measuring the length of the lights, it's imperative that you account for the extra length you'll need to dip lights between the hangers (presuming you don't want the lights to string tautly across the window or roofline).
Once you’ve measured, total up the length of each area to ensure you have all the lights, hangers, and supplies you will need to hang your outdoor Christmas lights. It's always better to have a little more than you need rather than a little less.
Step 2: Consider How You Will Power the Lights

You'll need electricity to make those glass Christmas bulbs shine brightly. Locate your nearest outdoor convenience outlet. If you have a switched outlet, you'll have control over your lights' power with the flip of an outdoor switch.
If you prefer “set it and forget it” automation for your Christmas lights, pick up an outdoor timer as well. These timing devices are available in both digital and mechanical models and allow you to automatically set your outdoor lights to go on and off at a specific time.
Note: How to Power Christmas Lights with No Outdoor Outlet
It’s a somewhat common question—how to get power outside with no outlet? For Christmas lights, you have several options. You could opt for solar lights, although most solar-type lights are for lighting pathways. You could also select a battery-operated light set designated for outdoor use.
Step 3: Choose an Extension Cord

You will likely need an extension cord to connect your outdoor Christmas lights to the outlet. How do you choose the right extension cord? Be sure to consider the length and buy one that is plenty long enough to reach the outlet. For safety, you should never plug two extension cords together.
Be sure to choose an extension cord for your holiday lights rated for outdoor use. The size of the wire inside the extension cord determines the gauge—a very important number to consider. If the extension cord is 25 feet or shorter, use a 16-gauge cord. If the cord is longer, you should select a heavier-duty 14-gauge cord to connect your holiday lights.
Step 4: Test the Christmas Lights Before Hanging

If you're starting with a new set of lights, it's still a good idea to test them just in case there's an issue. It rarely happens with lights out of the box, but you'll want to figure out any concerns before you start hanging Christmas lights outdoors.
If you already have outdoor lights on hand, you may need to untangle them from last year. While you’re straightening out the Christmas lights, it’s a great time to check the cord for worn areas or cut wiring. Test the lights and replace any burnt-out or broken bulbs. It’s important to note that you should never mix LD bulbs with incandescent ones. A Christmas light repair kit can make the job much easier. Next year, use a cord strap to keep the lights in great condition.
Step 5: Check the Weather Forecast

It may seem like a no-brainer, but with winter weather, it never hurts to plan ahead before you hang your Christmas lights. You can even hang your Christmas lights well before December to beat the snow and sleet! Choose a nice sunny autumn day when everything is still dry.
Hanging Christmas lights when it’s wet or cold outside isn’t only uncomfortable—it’s dangerous! It’s easy to slip and fall on a ladder, especially during wet weather. On that same note, be sure to solicit help from a friend or family member.
Step 6: Inspect the Ladder before Making the Climb

Bring holiday magic to your home—not the hospital! Remember that climbing a ladder is always a two-person job! No one wants a cast and crutches for Christmas. Before getting up on the ladder, inspect it thoroughly for any defects. Make sure that you don’t exceed the specified weight limit.
Do a quick visual inspection of the ladder to ensure that each foot has a slip-resistant pad. You should place the ladder securely on the ground. Lean ladders against your home, using a towel or protective pad to keep from denting the siding. With each step, get down and move the ladder to avoid leaning out and stretching to reach. It goes without saying—never stack ladders on top of each other! Don’t miss our ladder safety guide to stay safe and avoid ladder injuries this holiday season.
Step 7: Hang the Lights with Clips

Once you’ve set up properly with the right equipment and working Christmas lights, it’s time to start hanging them. Never ever use nails or staples to hang up Christmas lights. Nail and staple guns can pierce and damage the protective insulation in the light wire and cause an electrical hazard.
The right tools for hanging Christmas lights are lighting installation hooks and clips. These clips are specially made for gutters, shingles, trim, and flat surfaces. There are usually several options, allowing you to choose the right size for your bulbs and hanging surface. When hanging the lighting clips, be sure to space the clips every 8-10 inches. Clip in your lights as you go, and you’re ready to celebrate the season!
Knowing how to hang Christmas lights safely will bring magic to your home while keeping you safe in the process. To bring some of the visual festivity to your house and neighborhood with holiday lights and hanging accessories, visit your local independent Do it Best retailer or doitbest.com for holiday lights and accessories.
While do-it-yourself projects can be fun and fulfilling, there is always a potential for personal injury or property damage. We strongly suggest that any project beyond your abilities be left to licensed professionals such as electricians, plumbers, and carpenters. Any action you take upon the information on this website is strictly at your own risk, and we assume no responsibility or liability for the contents of this article.
Related Articles
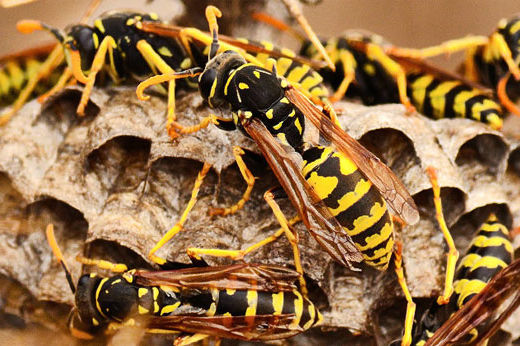
How to Safely Use Wasp and Hornet Spray
Learn how to safely protect your home from these aggressive pests
Learn more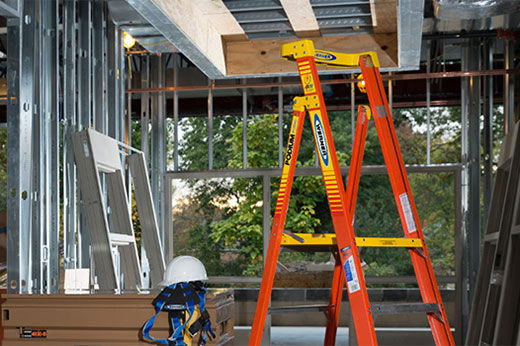
Ladder Safety
Climb with confidence! Tips for ensuring a secure and accident-free experience
Learn more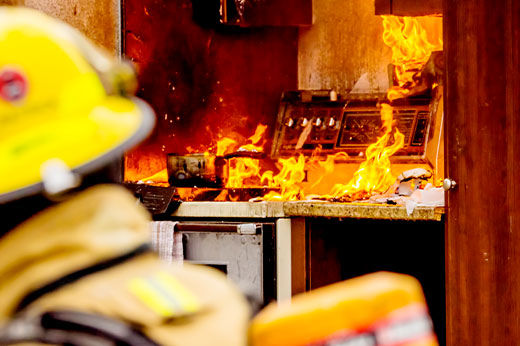
Kitchen Fire Safety
Keep your kitchen a safe place to cook and gather with these precautions
Learn more
How to Prevent House Fires
Safety tips to protect your home and avoid a life-threatening emergency
Learn more